LAYERS IN PHOTOSHOP
Layer:
Combine photos.
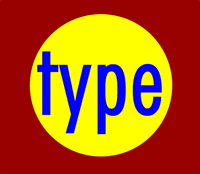
For example we have a paper it is colored with red, again on it colored with yellow, and then written some text with blue.
Layer panel:
Powerful tool that allows you do many special things.
Layer filter:
Makes it easier to find layers that you want to work with.
Opacity:
0 transparent.
100 fully opaque.
Adjust the slider for exact amount of transparency on each layer.
Blend modes:
How pixels in the image are affected by painting or editing tool.
Some modes are normal, dissolve, Behind.
Normal mode with 100 opacity:
Normal mode with 50 opacity:
Dissolve mode:
Fill opacity:
Adjusts the amount of opacity of pixel only, but any layer styles are uneffected.
Difference between Opacity and fill opacity:
If opacity =0 fill =100.
If opacity = 100 and fill decreases then the content also decreases.
Visibility:
Eye is showing that layer is visible.
Locked:
Something locked in layer.
Link:
Enable you to link layer.
Layer Effect:
Special effects applied to a layer.
Multiple effects may be used at once.
Add layer mask:
Allows you to paint without damaging original image.
Add adjustment layer:
Change the color.
Apply image adjustments.
Layer group:
Puts layer into folder.
New layer:
Creates new layer.
Delete layer:
Drag into this icon to remove it.
Panel options:
Provides a no of options.
Masking of two images in Photoshop:
Take two images in Photoshop.
Drag the image into another tab by just selecting the mouse cursor on one image and move it into another tab without releasing.
Add mask layer to layer 0.
And then choose default gradient tool so that we can drag and get background.


